Step by Step How to build a Cold Frame
Last year I posted about the new Cold Frame that I built and I was asked to write a more detailed how-to post. I bought the materials to make another one, but never found time to build it... until now.
Last year's cold frame looked like this:
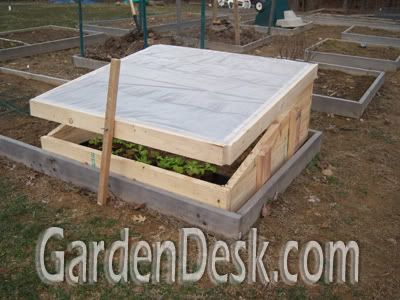
It was basically a 4'x4' cold frame built by following the plans from one of my favorite books called The New Victory Garden by Bob Thompson.

The new cold frame I built was created in basically the same way but instead of the traditional 48" in depth, I made it 40" so it will fit the raised bed in my new greenhouse. That's the beauty of building your own cold frame - you can tailor make it to fit your needs.
The New Victory Garden was written way back in 1987. It was the first vegetable gardening book that I bought and I learned a whole lot from it! It truly was instrumental in my obsession with veggie gardening. There are many great things in the book including easy to follow plans for how to make a coldframe. I will attempt to explain the steps involved in the remainder of this post, but I'm sure I won't be able to do it as well as Thomson. Let's start with the materials needed:
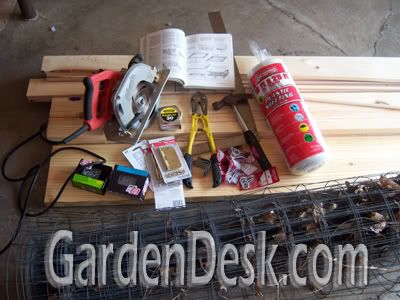
All you need are some tools, exterior nails or screws, two hinges, a 4' piece of good plastic sheeting, 3 - 8' 2x6 or 2x8 untreated boards, two 8' 2x4s, two 8'a 4' piece of wooden dowel, 10 feet of 1x3" lumber and some furring strips. I'm sure I missed something in that list, but we will go over each step below:
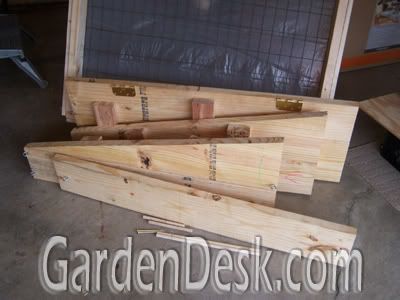
Begin by cutting the 8' 2x8s in half to create six 4' boards:
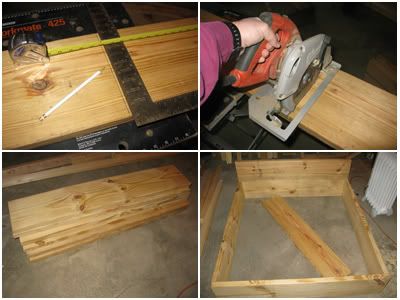
The boards will basically be arranged like the last panel of the above picture. 4 boards make a box for the bottom layer. One more board goes on top in the back, and the last board gets cut diagonally for the sides.
This is probably the most difficult part of the whole process. Draw a line from one corner to the opposite corner and cut down the line. The way I accomplished this was to clamp it to my table. After the cut is made, you should have two identical diagonal boards.
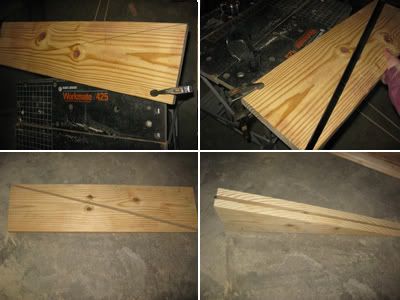
Next, attach each diagonal piece to one of the side boards with small pieces of the 1x3s. Do the same with the two 4' boards for the back. You can use exterior 3" screws or galvanized nails. I used some of each.
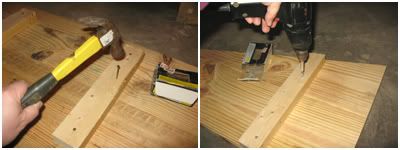
Now that the back and sides have been created, we have to attach them. This is one of my favorite features of the Victory Garden's plan. If you simply nailed the sides together, you would have to build the frame in place because the entire unit would be too heavy to move. This design allows you to easily take apart the frame to move it around or store it.
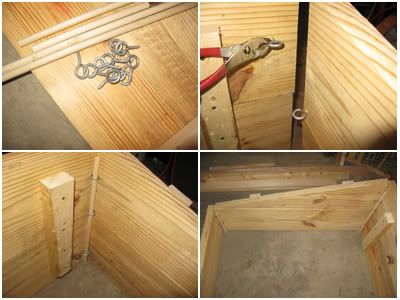
Each corner is attached by using galvanize eye screws and wooden dowels. You alternate the eye screws in the corners and then slip the dowels in.
Next you build the lid or top of the frame that will be hinged to the frame using 2x4s. The front and back is made from 4' pieces and the sides from whatever length you are making (this frame needed to be 40" total front to back length, so the side pieces were 37"). The most difficult part of this is that the sides need to be cut at an angle so the lid fits securely. The easiest way to do this is by lining up a straight edge with the boards below.
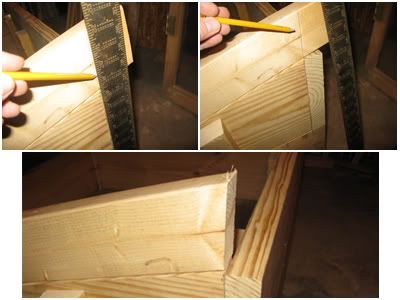
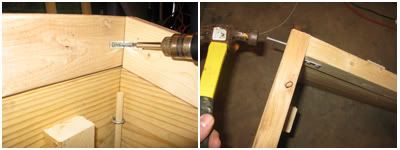
The 4 lid pieces are then attached by nailing through the ends. You might find it easier to use an "L" bracket to line up each corner first.
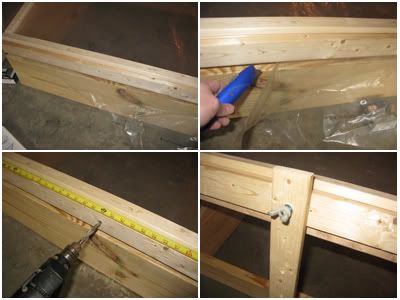
After the lid is solid, you can attach it to the frame with hinges. Then you can add plastic to the top by stapling it down and nailing furring strips over the plastic.
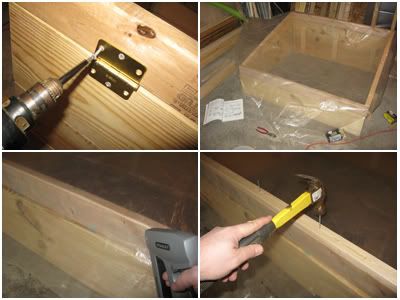
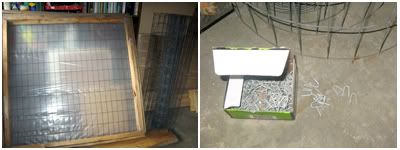
The thicker the plastic sheeting you use, the better. I used 6 mil greenhouse plastic for this one. Last year I just used plastic from the hardware store and it was probably 4 mil. The book calls for wire fence to be put down first before the sheeting is attached. I did this last year, but didn't think it was necessary for this one. If you do use fencing beneath the plastic, use "U" nails to attach it to the top of the lid.
We're almost finished with our new coldframe now! After you've nailed down the furring strips over the edge of the plastic, trim the excess plastic away. Then you need to measure the middle of the front and drill a hole in it. This will be used to slip a carriage bolt through to attach a post that will allow you to vent the frame when needed.
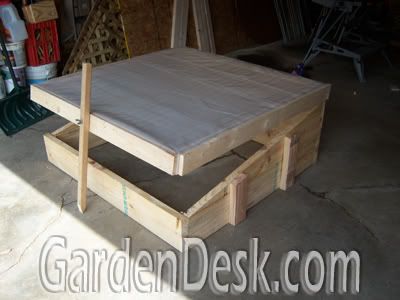
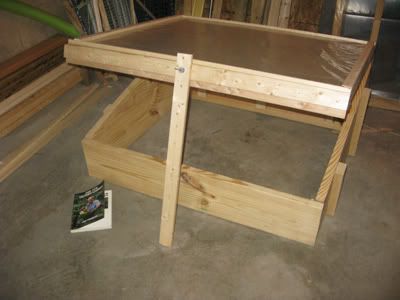
My finished cold frame looked like this:
All ready to be taken outside and put in the greenhouse. It will soon house tender young plants to help me get a jump on the growing season. If you want to know more about the uses of a cold frame, see my post on Simple Green Frugal Co-Op or visit the library and get some books about it. There are many books available that include ways to use cold frames for season extension. Among my favorites are Four-Season Harvest


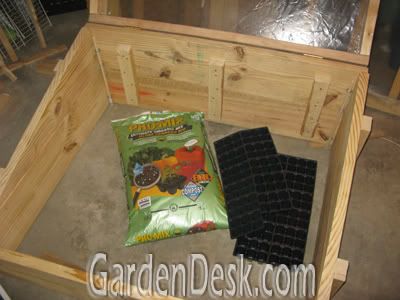
Now I just have to do more seed sowing! Oh, I almost forgot to mention the final step in building a cold frame - sweep up the saw dust and add to your compost pile :)