Showing posts with label vermicomposting (worm farm). Show all posts

Wednesday, June 16, 2010

Benefit with vermicompost from your own wormery!

As you may or may not know, I have a worm bin full of thousands of redworms that I keep in our dining room. The whole family enjoys feeding the worms our vegetable scraps and watching the babies hatch. My worm bin is the Gardens Alive Worm Factory.

I have written before about setting up the worm bin here and here. I have written about how to harvest the worm compost from the bin, but I have never really shown why vermicompost is so great.

Worm castings, or vermi-compost is the super compost - the best organic natural fertilizer possible for your plants. I have always read this and believed it, but this year I decided to put it to the test.

Remember the Pea bed that I prepared back in March? In that bed, I put two rows of chicken wire fence with two rows of peas on either side of each fence. Afther the peas got growing, they looked like this:
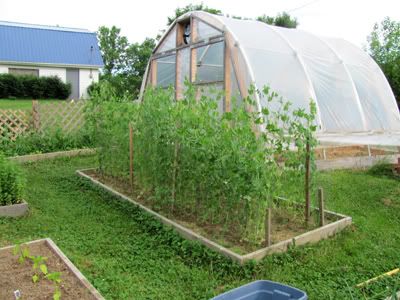
For my experiment I put freshly harvested worm compost as a top dressing on the two rows of peas on one fence and not on the other.
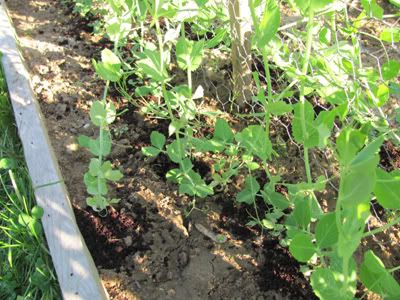
After a few weeks, the pea vines on the composted side grew so much bigger than the other side that they reached above the fence and fell over! They also yielded many more peas! The easiest way to show you the difference is by this split screen picture:
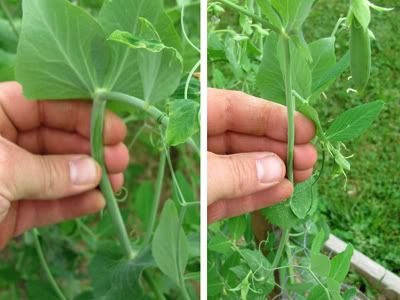
The left side had the vermicompost added. Look how much thicker the vine is than the one on the right. The right side did well too. I never would have known the power of the worms if I hadn't done this side-by-side test. The peas were fabulous, by the way.
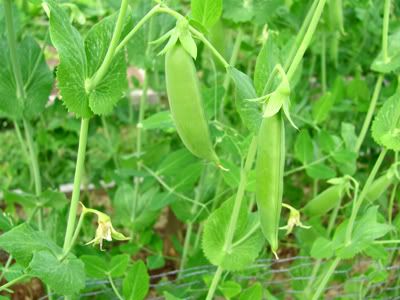
On the same day I added the worm castings to the peas, I transplanted my last early tomato plant. I added a generous amount of the worm compost to it's hole as well.
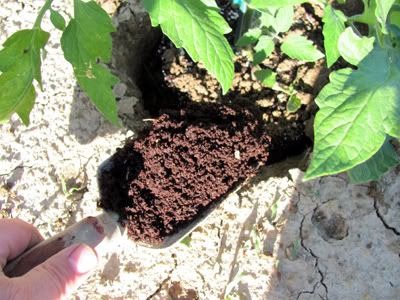
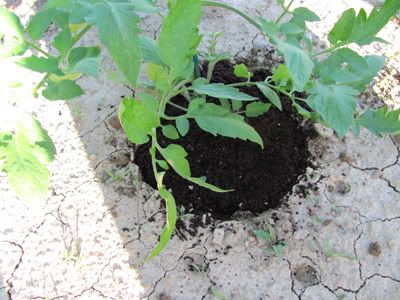
It may be just a coincidence, but that is the plant that has been giving us our early ripe tomatoes so far! The other early tomato plants haven't ripened yet. Sounds fishy doesn't it? Or should I say wormy! I'm convinced that the vermi-compost made the difference. It makes me want to get another tray started on my Worm factory right away. Each finished tray makes quite a bit of compost.
I have a friend that has been asking me about worm composting and how to do it. That has made me realize that I never really written a comprehensive how-to compost with worms post. I am now in the process of doing that. It will be added to gardendesk.com as a page. Worm composting is one of many topics that I write about but don't really give good details to the beginner. I apologize for that and am working on making that better. That is why I started the GardenDesk page arm of this site. So far I do have a general composting page, a seed-starting page and a beneficial insect page. Soon I will add a worm composting page and several others.

For now all I can do for my friend is refer her to my worm composting thread and recommend some books like Worms Eat My Garbage: How to Set Up and Maintain a Worm Composting System and The Worm Book . Also, my Worm Factory came with a great little informational booklet that I am loaning to her. She has said that she may buy the same bin that I have which made me remember the Gardens Alive online $20 off coupon that they have. You can get that by clicking here:

Save $20 on any order of $40 or more!

I posted that primarily for her, but anyone can use it. It leads to the main Gardens Alive page and is good for any of their products. If you are looking for the Worm Factory, you then need to search for "Worm Composting System". I highly recommend worm composting and endorse the Gardens Alive Worm Factory.

Other than my friend reading this, I'd love to here others thoughts on worm bin composting. Do you have one? Have you made one yourself that you are happy with? Does the idea intrigue you or disgust you. One thing is sure, vermicompost IS nature's super-compost!

Keep Growing!

- Marc

Monday, September 21, 2009

Harvesting Vermicompost (Worm Castings)

Back in March, we began raising red worms in our kitchen with our new worm factory.

WormFactory

By April they were already having many little worm babies. We kept feeding them all summer and adding trays for them to expand into. We started with 1000 worms and by now I estimate that we have over 5000! They are hard to take pictures of because they don't like the light, but here is my best shot:

Worms

The best thing about raising worms inside is that they give you an easy way to recycle your kitchen vegetable scraps. They break down the veggies and create the best plant fertilizer on Earth - vermicompost!

Castings1

Once again, this is not an easy thing to photograph. Here is a closer look at a smaller amount:

Castings2

They look like coffee grounds but have no oder at all.  I was able to get quite a bit of these plant nutritious worm castings from the bottom tray which I will add to our new greenhouse growing beds.

After harvesting this compost, I created a new bedding environment for the worms to move into just like I detailed at the bottom of this previous post.

We really like having these worms. Have you ever raised worms or considered it? I recommend keeping worms to any avid gardener!

Thursday, April 9, 2009

The worms are multiplying - Babies!

We are really enjoying our GardensAlive Worm Composting System. We have only had it a month but the worms have more than doubled already! If you want to see what the worm bin looks like, I showed several pictures of it on my last worm post.

My daughter has had a favorite kids book for years called Diary of a Worm. Now that we have been able to watch worms up close for a month, we understand the book a lot better. Now, it is pretty funny to us. What a great little book. For example, the instructions in setting up the bin had us put several sheets of wet newspaper as the very top layer of the bin.  Diary of a Worm begins with advice from a mother worm to her son. One thing she tells him is "Never bother Daddy when he's eating the newspaper."
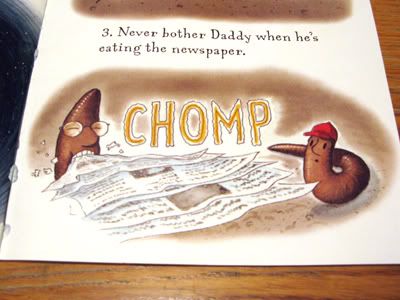
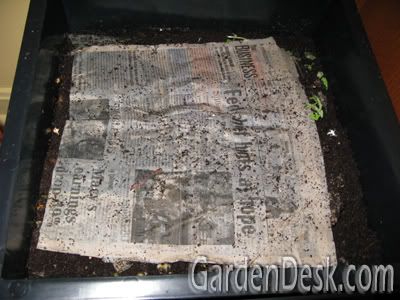
As it turns at, that is so true. The worms love to eat newspaper! Look at what those three layers of newspaper look like after one month:

They also like to get up above the newspaper, between it and the plastic lid - so we added more moist newspaper.

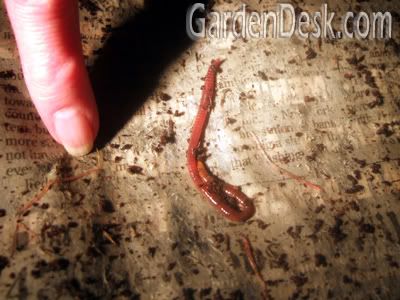
Today we discovered the coolest thing of all. The worms not only like to eat newspaper and crawl between it and the lid, but they like to do other things there as well.

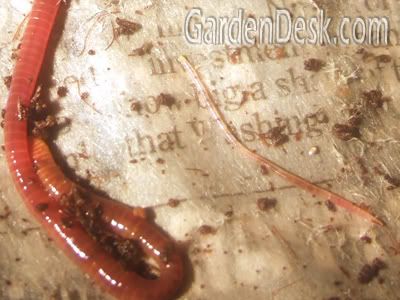
Look at all the babies! There are at least six or seven in this picture. They are so small that we would never have seen them without the newspaper as a backdrop.Here's a closeup of the above picture:

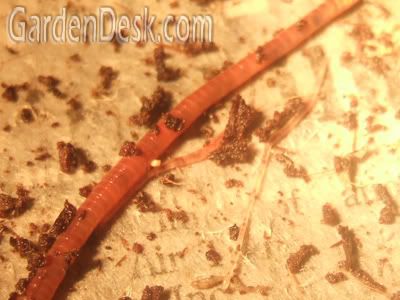
These baby worms are small but they are a lot longer than I would have expected. Below is a different picture. Notice that one baby is snuggled up next to an adult and another baby is a little to the right. It almost looks like a mom and her babies, doesn't it?

Did I just hear you say "aw, how cute"? If so, did you ever think you would think worms were cute?

I tell you, we are having much more fun with our worm bin than we expected. It's really easy to keep it going since the bin is right in our living space. We have already expanded to the 2nd tray. If you want to see how the bin is put together, my first worm post shows it in detail. Also in that post, I show some other styles of indoor worm bins like the famous Can-O-Worms.

I'm sure those other worm systems work well too, but we are very satisfied with our Gardens Alive bin. They still have their spring Internet coupon going for the worm bin or any of their products. It is $20 Off Any $40 Purchase, a pretty good deal, don't you think?

We are so new at keeping worms that it still seems odd to call it vermicomposting. That is what I like to call it though, because the whole reason for raising these worms is to be able to use the ultra-rich compost for the garden that they create. I first found out about vermicomposting from a garden blog, but I don't remember which one.

If you are a garden blogger and have ever written about raising worms, please let me know. Include the url to your post, label or category too if you can. We'd also like to hear from you if you've ever kept worms even if you haven't written about them. I want to learn all I can about this and tell as many gardener's as I can too.

Keeping worms is so easy and fun, every serious gardener should consider it! Please comment if you agree with me or even if you have questions.

Thanks,

Marc

Monday, March 2, 2009

The Worms are Doing Great!

My 1,000 new worms are safely settled in to their new home! These great red wiggler worms arrived just after my post about putting our new worm bin together. They are doing great in the new Gardens Alive Worm Factory!

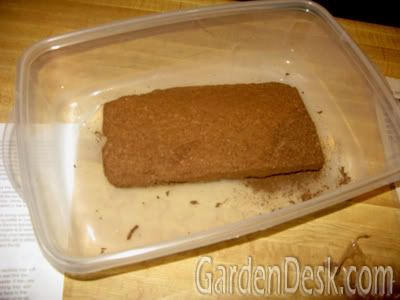
The worms seem happy and healthy. I think it is because the Worm Factory came with great instructions on how to set up the bedding to give the worms their best possible home. It also came with a block of coir, which has turned out to be a great bedding. I didn't know what coir was, but I found out from The Worm Book that it is the shredded fiber of coconut husks.

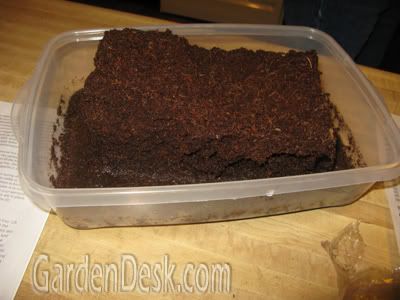
When you add water to the coir, it instantly swells up! My kids got a kick out of watching it grow so quickly.

After it soaked up the water, I broke it apart and made sure it had even moisture.

The Worm Book by Loren Nancarrow and Janet Hogan Taylor, lists the advantages of using coir coconut fiber in worm bins. It says coir (also called coia) is great because it retains moisture like peat moss but of course is more of a renewable resource than peat. Coir also mixes well with other bedding, is odor free and clean, doesn't compact in the bin and has a good pH of 6 to 6.5. Nancarrow and Taylor states that the disadvantage of coir is that it is expensive. This worried me a bit because I want to buy additional coir for the bedding in the other trays of my worm bin. In the small quantities that I need for worm farming, cost is not bad. I found the same size brick of coir at Pinetree for $2.95.

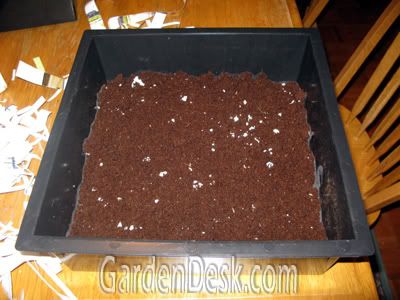
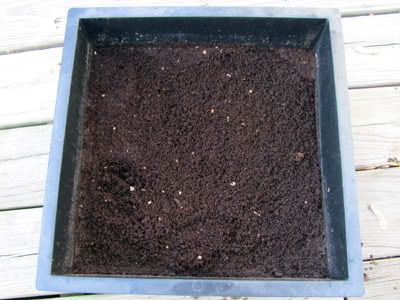
After the coir was evenly moist, I added some crushed egg shells and put the whole mix in the worm bin tray.

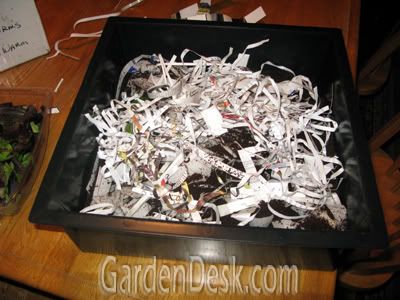
Next came a layer of shredded paper.

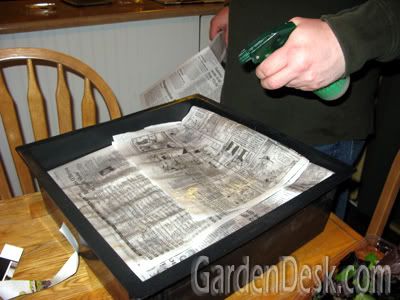
The last step to making the worm bed was to add a couple sheets of moistened newspapers. This is a great idea since it helps to keep the material underneath moist as well. It will also be easier to tell when I need to add water to the whole worm bin.

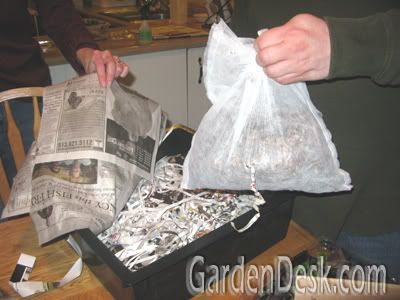
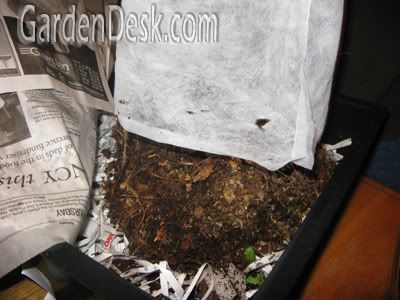
Finally, it was time to add the worms!

Every day since, we have added vegetable kitchen scraps in one side of the bin. You need to bury the scraps so the worms have easy access to them and so they don't smell. It has been shocking how fast soft foods like strawberry tops and eggplant pieces are consumed. Potato peelings and lettuce have been slower. In a weeks time, the worms have also digested much of the shredded paper and I assume they are also eating the coir.

I guess I should have stated this at the beginning, but this is the whole reason to have a worm bin. We have it located right in the kitchen so we can add compostable food scraps quickly and often. Each worm eats its body weight in food each day! Over time, the worms will supply us with rich vermicompost that we can add to the garden! Worm castings are amongst the best of organic soil conditioners.

I will write more about the benefits of raising worms as I learn more about them. Like I mentioned earlier, I am reading The Worm Book . I am also re-reading the classic Mary Appelhof book, Worms Eat My Garbage: How to Set Up and Maintain a Worm Composting System.

I was also able to find a new book on raising worms as a business called Profitable Earthworm Farming. A similar book, Raising Earthworms for Profit was actually the first worm book I read. It is a great book which got me very excited about raising worms! I'm not sure that I want to be in the worm-selling business, but I do want to expand my worm farming as much as possible in order to get more worm castings from them. These books will help me turn my 1,000 worms into 15,000 worms in a year. If I create space for them, in two years I could potentially have half a million worms! That's a lot of vermicompost! I definitely don't want to buy any more redworms. They are sold for up to $50 per pound (1,000 worms). At least I found a pound of worms available for $29.99. Maybe they would be good to raise for profit. Discussion for another day.
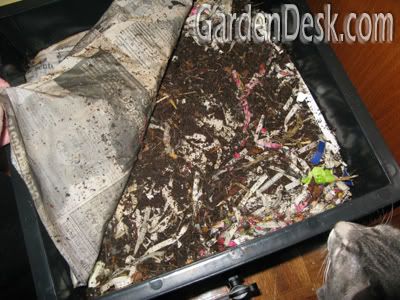
In the meantime, I will feed and visit my worm bin daily. Even our cats like to watch them wiggle.

I want to keep them healthy so I don't need to buy any more. There is one thing I would like to purchase for them though. I worry that I'm injuring them when I dig my hand through them to bury the food. I want to buy a Hand Compost Turner Tool. It is only $4.95 and using it would be safer for the worms. They probably sell this so you don't have to touch the worms. That doesn't bother me.
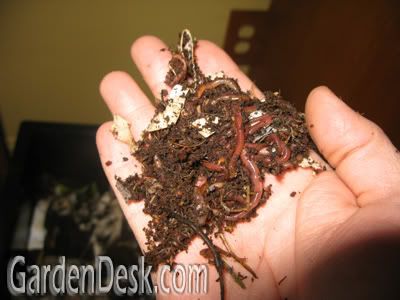
Don't they look great? I know, I'm like a proud pet owner. I'm sure I'll write more about them later!

Tuesday, February 24, 2009

I'm ready for the worms!

12 years ago I wrote a newspaper article about raising worms as part of my Master Gardener certification. I had the privilege of interviewing a local expert on worm composting who taught me that the proper term is vermicomposting. Visiting her at her house I discovered that she had many "worm composting pits" in her back yard. What surprised me the most however, was that she also had a can-o-wormsin her kitchen! Ever since, I have wanted to buy my own can-o-worms. The Can-O-Wormsis basically a multi-tray composting system raised up on legs with a tap on the front to drain excess water as "worm tea".
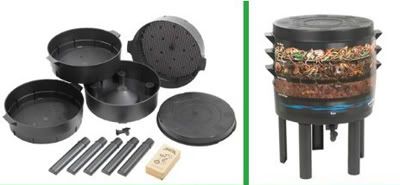
Since this popular unit costs over a hundred dollars, I was never able to get one.

Last year, I finally decided to try my hand at vermicomposting in a makeshift plastic bin. It was fun and worked for a little while. My bin didn't provide adequate air for them and since it was sitting on the basement floor, ants invaded the bin. I made all sorts of mistakes and the worm farm failed.

This year, my wife said that she would like to try again if we could find a cheaper alternative to the Can-o-Worms.

I had my eye on this unit:

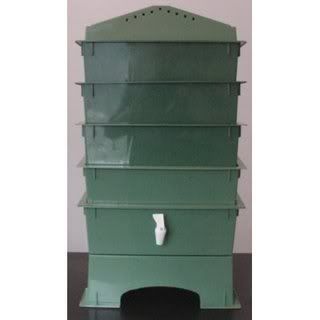
The 4 Tray Green Gusanito Wormswrangler Worm Farm Bin. It was available for $68.95 - much less than the can-o-worms.
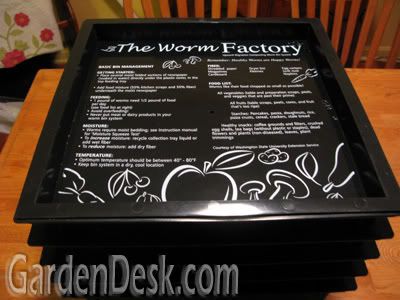
Meanwhile, my wife found the Worm Composting System from Gardens Alive which also had four trays and a spout. It was $99 but they offer an online $20 off coupon. That got it close to the Gusanito system price. Since we already love and trust Gardens Alive, that's the one we bought. Besides, I had some other organic products to order from them. I don't think I could keep my garden organic without Gardens Alive's great products. By the way, if you are interested in the $20 coupon, you can get it here: $20 Off Any $40 Purchase

Sorry, I'm getting off topic a little here. That was the introduction to my post!
Here's the real post:

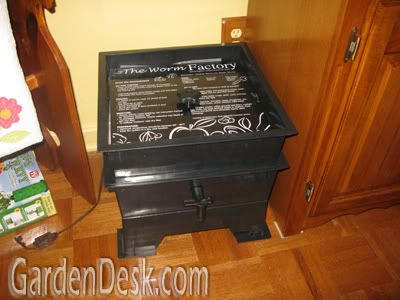
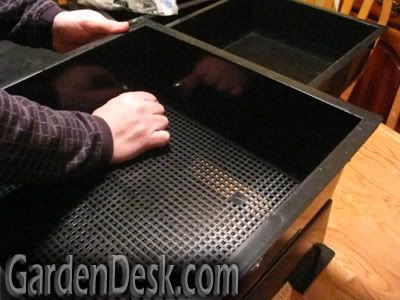
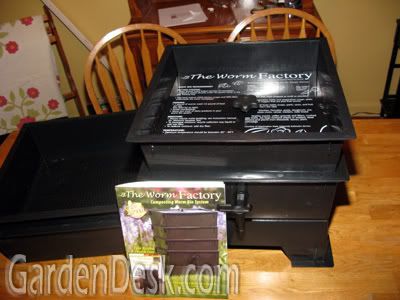
Our new Worm Factory has arrived and the worms will be here any day! It only took three days to get here after we ordered it. We quickly opened it up and spread out the pieces.

Our cats were very curious about it. Remember Our cats Macy and Maggie? They show up in our pictures from time to time. Hey cats, get off the table!

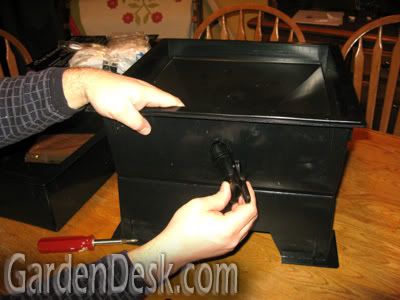
We began putting the worm bin together. I had to screw on the legs and attach the tea spigot.

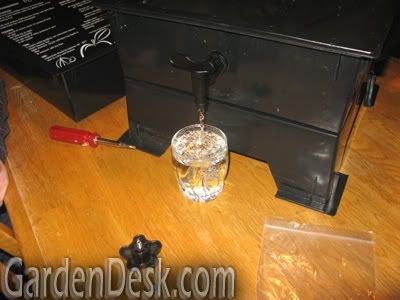
Then came time to test the spigot.

It works! Although next time we use it, the water won't be that clear! All done except for the residents of the worm factory. It also came with paper bedding and a block of coir to add to the bedding. We have to start with only one tray and stack new ones up as the worms and their bedding/compost fill up the first tray.

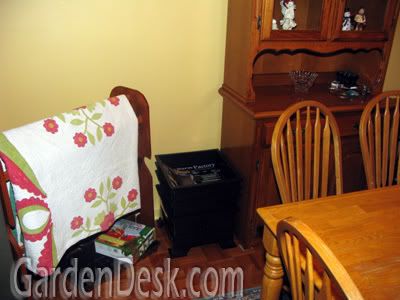
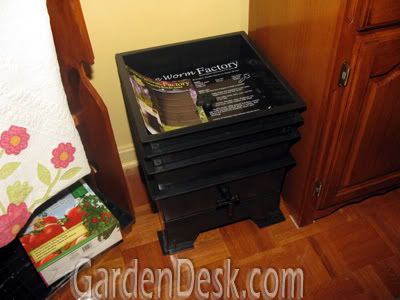
To keep the basement ants from attacking again, and to prevent neglect, we will be putting this attractive new vermicomposter right next to our table and hutch in the kitchen dining room.

Weird, huh? We are excited. Does this seem strange to you, or are you a vermicomposter too? It will provide wonderful compost as well as conversation when visitors are here!

Anything to keep us thinking of Spring!

GardenDesk   © 2008. Template Recipes by Emporium Digital

TOP